Listing Setup
Last update: 20.03.2021
A listing is an integration you want to expose within the marketplace to your end-users. This landing page is completely configurable to match your brand’s identity. This is where you will upload your integration content to explain the value of what the integration with your SaaS application and another application provides to your customers.
- Navigate to the embed section → Listings and “Add New Listing”.
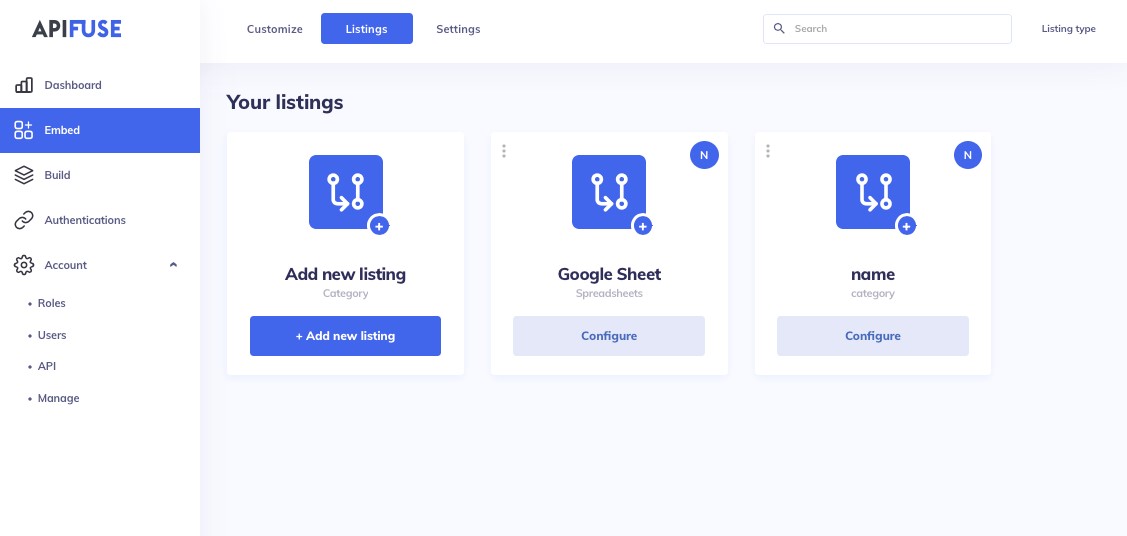
- Configure the listing (Note: It will default to “Name”).
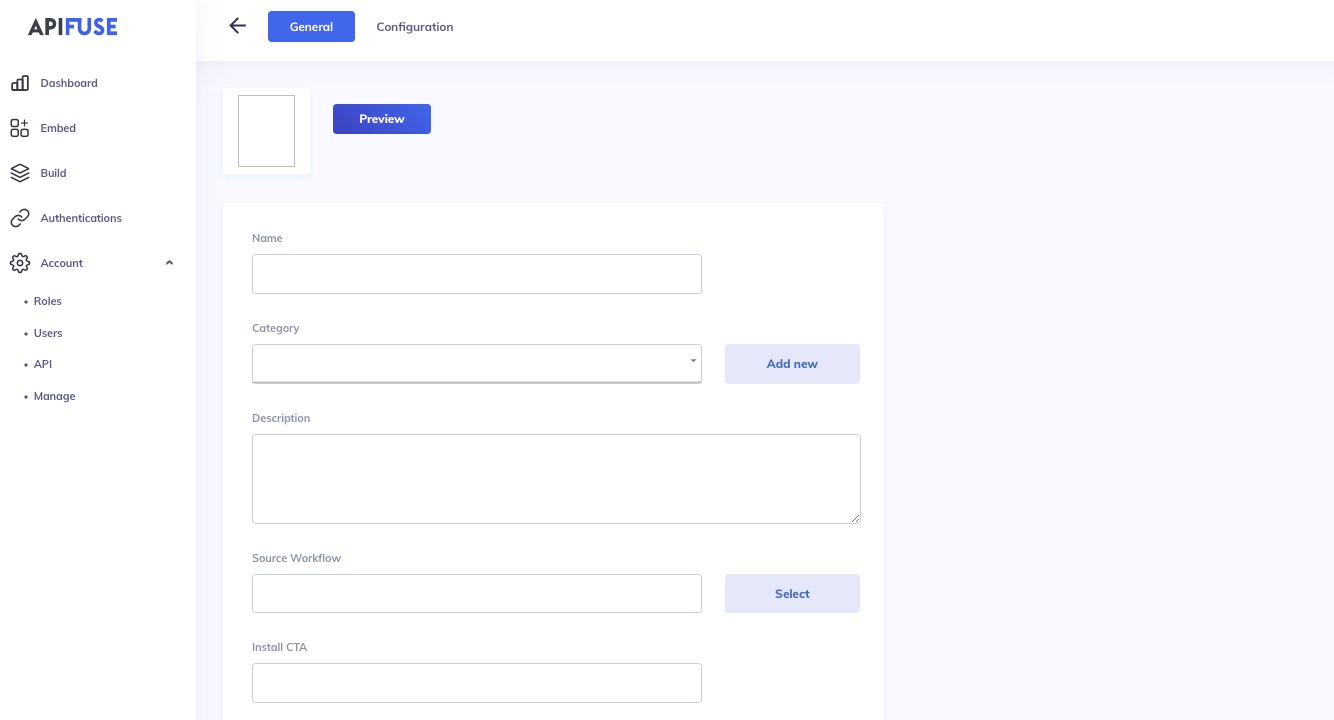
- In the general section you can:
- Upload your logo (image from your desktop computer)
- Create a category for the integration (Ex: CRM) which will appear in the marketplace under the left handle panel (Categories)
- Write a description of your integration relevant to your customer
- Link the integration to a published workflow (the workflow you’ve configured in the build section) that will perform the actual logic
- Label the Install CTA button (what your customer will click on to run the integration)
- Connect this to a monetization plan (your unique price plan) to create certain limits
- Upload screenshots of how the integration works
- Upload a video of how the integration works
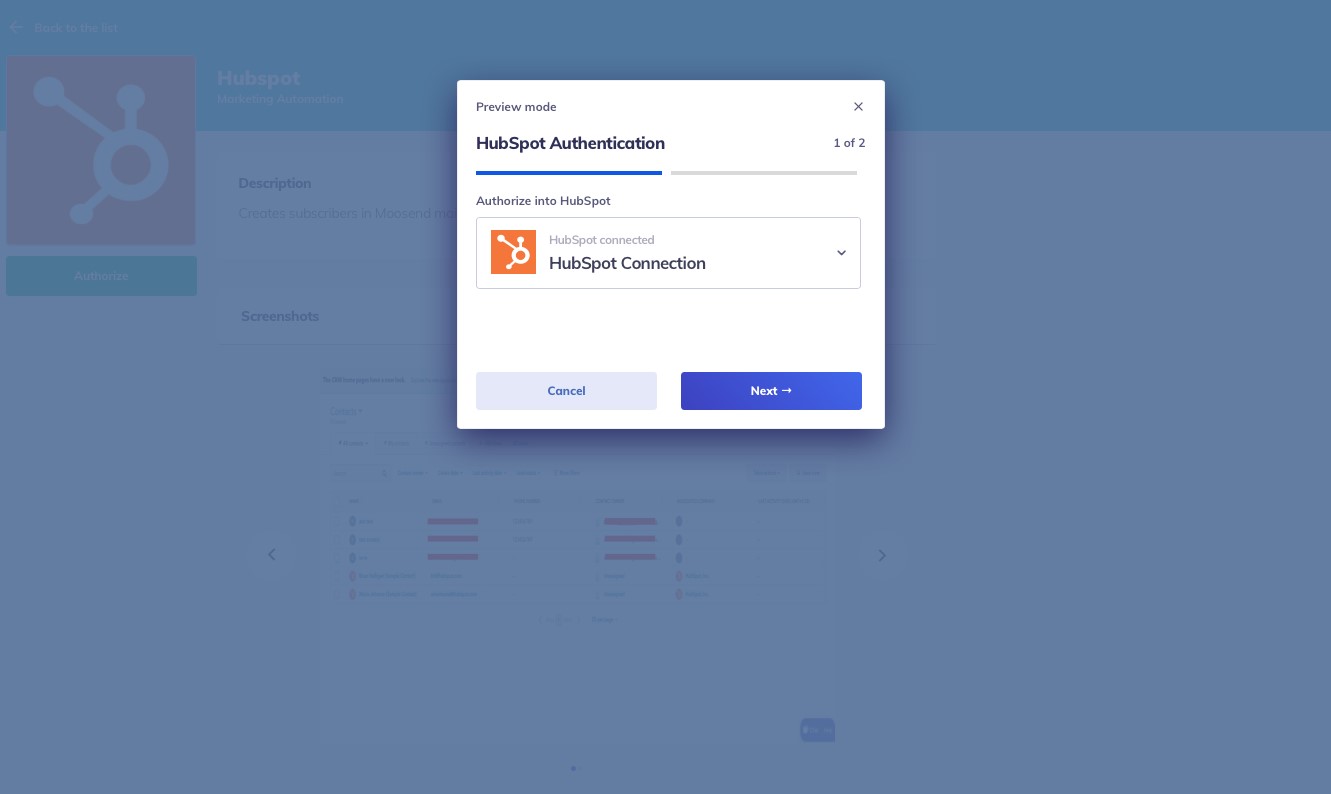
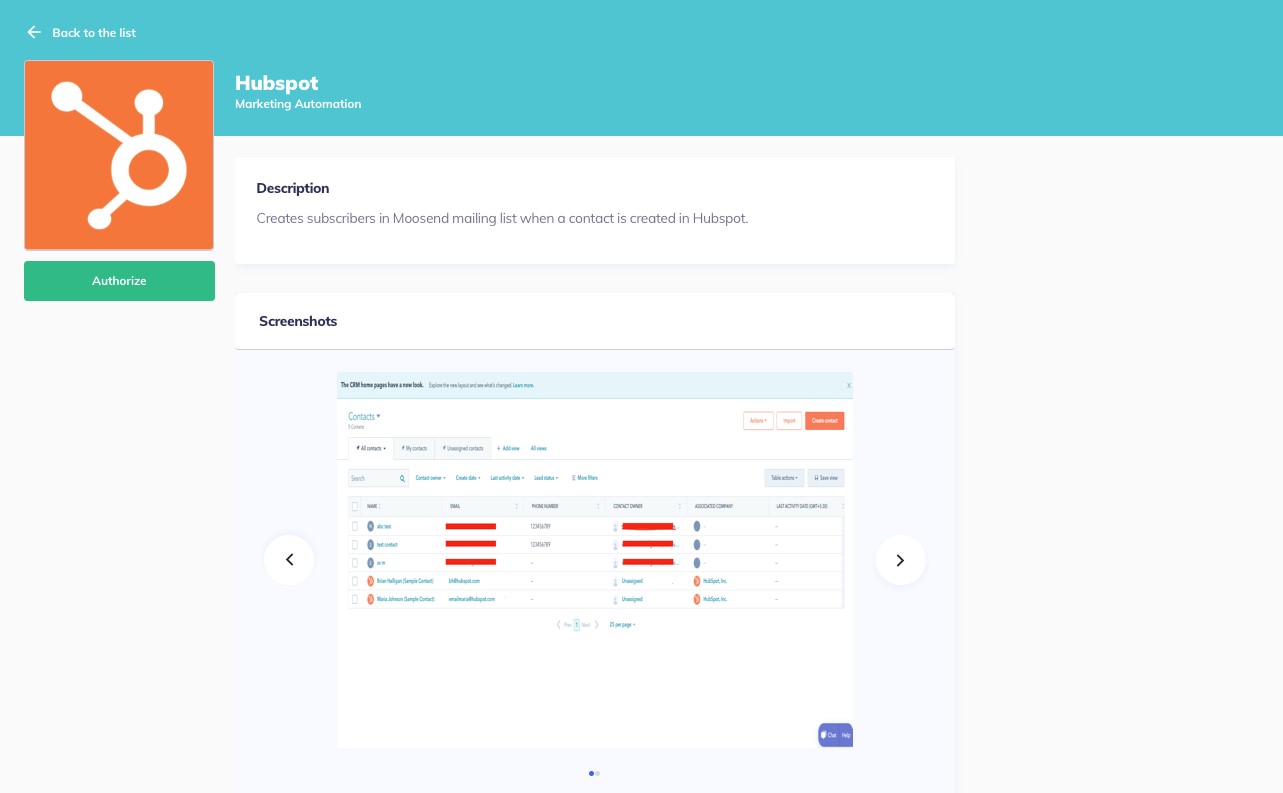
- Once you have uploaded relevant content of the integration, “click preview” to preview the landing page that your customer will see (Ex: Moosend integration with Hubspot).
- In the configuration section, you can customize the title, description and call to action of the authentication screen (what your customers will see when they authenticate into the integration). You must have a linked workflow within your listing in order to configure the authentication screens.
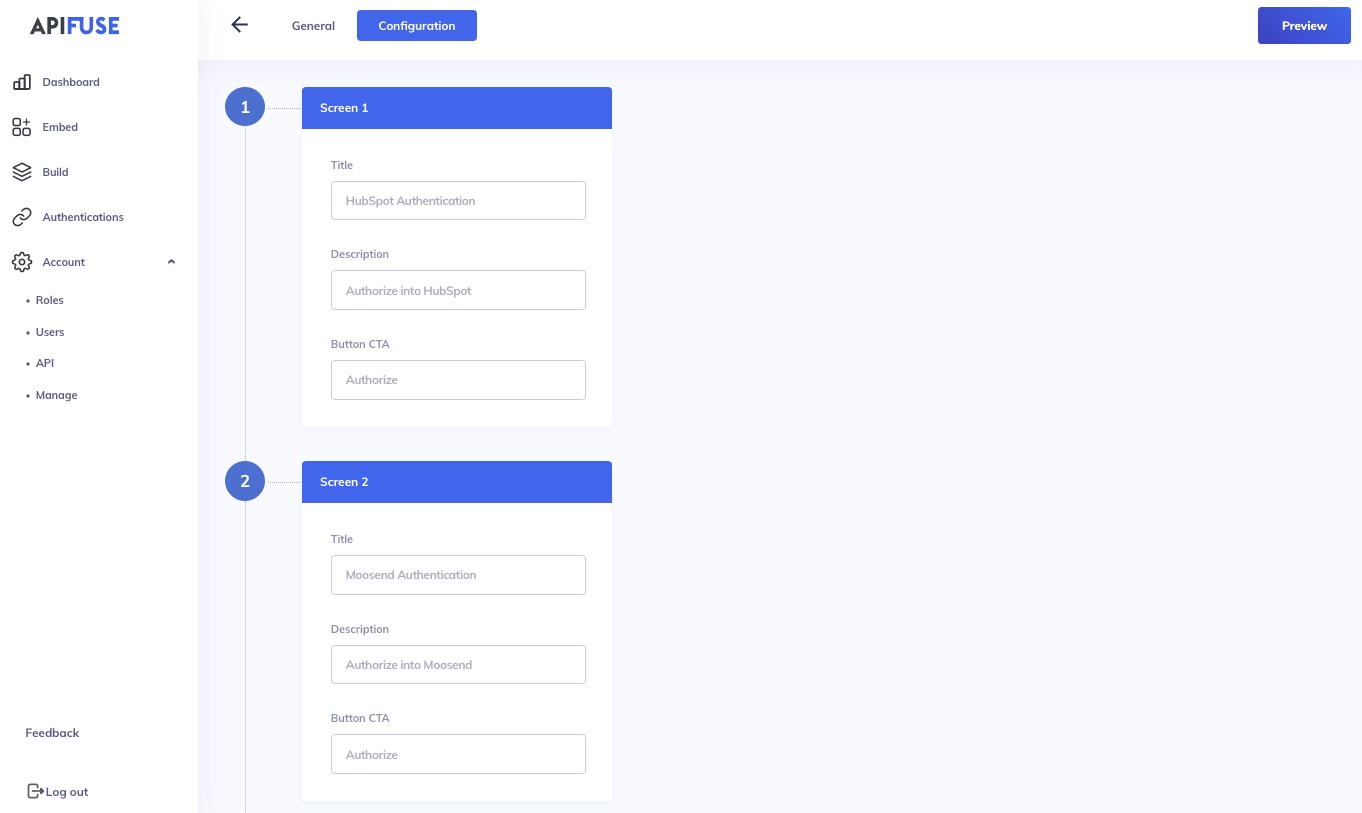
- Once you have configured the authentication screens, click “Preview”.
